Recipe modified by You Want Me to Cook? – May 19, 2012
For a
commentary-free and printer-friendly version of it, please click here.
As I
am baking and decorating my way through my Wilton Class Books, I needed a good
cut out cookie recipe. Actually, I
needed a good CHOCOLATE cut-out cookie recipe.
Oddly enough, I didn’t have any in my archive of recipes, so I took the
suggestion of the book (Class #1 – Decorating Basics) and went on
their website for their cookie recipe.
 |
| © You Want Me to Cook? Chocolate Roll-Out Cookies |
They
are basic roll-out cookies.
Yep,
kinda boring without any decorating, but I’ll get to that in a future post.
There
is no photo of these cookies on their site, so I can only go based on what I
see in the book. Although my cookies
aren’t as “smooth” on top – and I wish I could figure out how to do that – they
look very similar.
Just take my word for it. Please?
Assessment:
for
more details about what my ratings mean, go to Gretchen’s Rating System
Mess:
SIGH –
I was shocked that the prep, including the chocolate, went without
incident. However, you are going to need
about a billion cookie sheets if you’re making big cookies, like me, and even
more counter space to cool them off.
Start-to-Finish
Time:
A COUPLE OF
HOURS – Don’t fret… this includes an hour worth of chilling the
dough, but you still have to figure that into the total recipe time. At least you can clean off some more counter
space while it is relaxing in the refrigerator.
Prep
Work:
ALL FINGERS
STILL HERE – You do have to melt the chocolate, but that could
easily be rolled into the recipe.
Everything else, including measuring out the chocolate, is mix and go.
Ease
of Recipe:
THE BASICS –
I always have issues rolling out and cutting cookie dough. In my Wilton classes, I have learned how to
roll dough/fondant/gum paste out better, but I’m much more adept at the fondant
and gum paste part. I also came up with
a system to get the cookies from the counter to the pan then to the rack by
using parchment paper for the transfer, but be patient while you’re working the
details out. Start small and practice a
little before really getting started on the cookies.
Overall:
YUMMY –
I initially gave this a SORRY HONEY NO
LEFTOVERS, but I decided to rethink it for two reasons: (1) I made the “plain”
roll-out cookie and those tasted 10-times better. Not that these tasted bad… I’m not saying
that at all. What I am saying is that I
would have eaten the others without any frosting in a heartbeat. I probably wouldn’t say the same about
these. Then (2) I was cleaning out
cookie storage and found a couple of these left. There would have to be none leftover for it
to earn the higher rating.
Recipe Information:
I am not a doctor or dietician.
I make my nutritional assessments with the aid of Spark Recipes. I run the original recipe and my altered
recipe through their calorie counter and then compute the differences I
find. My numbers are to be used as a
guideline. Anyone who is under dietary
medical supervision should follow the advice of their medical professional if
their opinion differs from mine. PLEASE!
Makes
2-1/2 dozen cookies
The
estimate of how many cookies it makes really depends on how large of cookies
you are cutting out. I was making
6-inchers, so I didn’t get nearly that many cookies. There wasn’t any timing information, so here’s
how my timing worked out:
- Prep: 19 minutes
- Hands-on Time: 15 minutes (doesn’t include cutting out cookies)
- Chill Time: 1 hour
- Bake Time: 10 minutes/batch (I had 4 batches)
- Total Time: 2 hours 5 minutes
It
didn’t take me long to cut out my large cookies and then I would re-roll and
cut out the next batch while one was baking.
So basically, there’s a lot of overlapping time.
There
wasn’t any nutritional information included with the recipe, so I ran the
ingredients through my nutritional calculating tool and got the following:
- Calories 141.6
- Total Fat 5.8 g
- Saturated Fat 3.6 g
- Cholesterol 22.8 mg
- Sodium 62.8 mg
- Total Carbohydrate 22.0 g
- Dietary Fiber 0.4 g
- Sugars 13.0 g
- Protein 1.9 g
That’s
a single cookie. Hmmmm… I’m not sure I’m
happy with that many calories, fat and cholesterol in one tiny treat WITHOUT
frosting. Oh well, it doesn’t hurt to
splurge every once in a while!
Ingredients:
Changes denoted by red text
 |
| © You Want Me to Cook? Chocolate Roll-Out Cookies - ingredients |
3/4
cup butter or
margarine softened
1
cup granulated sugar
2
eggs
1
teaspoon Madagascar
Pure Vanilla Extract
3
squares (3 ounces) unsweetened chocolate, melted and cooled
3
cups all-purpose flour
1
teaspoon baking powder
Butter/Margarine
–
I’m not a big fan of margarine. Unless a
recipe specifically says I HAVE to use margarine, I always go with the
butter-option.
Vanilla
Extract –
I’m sure that the best vanilla comes from Madagascar. However, I scanned the shelves in my grocery
store and couldn’t find any that marked it from that location. Wilton had a link to buy it from their
website, but even their product didn’t specify it was from Madagascar. Since I have a ridiculous amount of vanilla
in my pantry, I wasn’t going to buy anything new if I didn’t have to.
Equipment Needed:
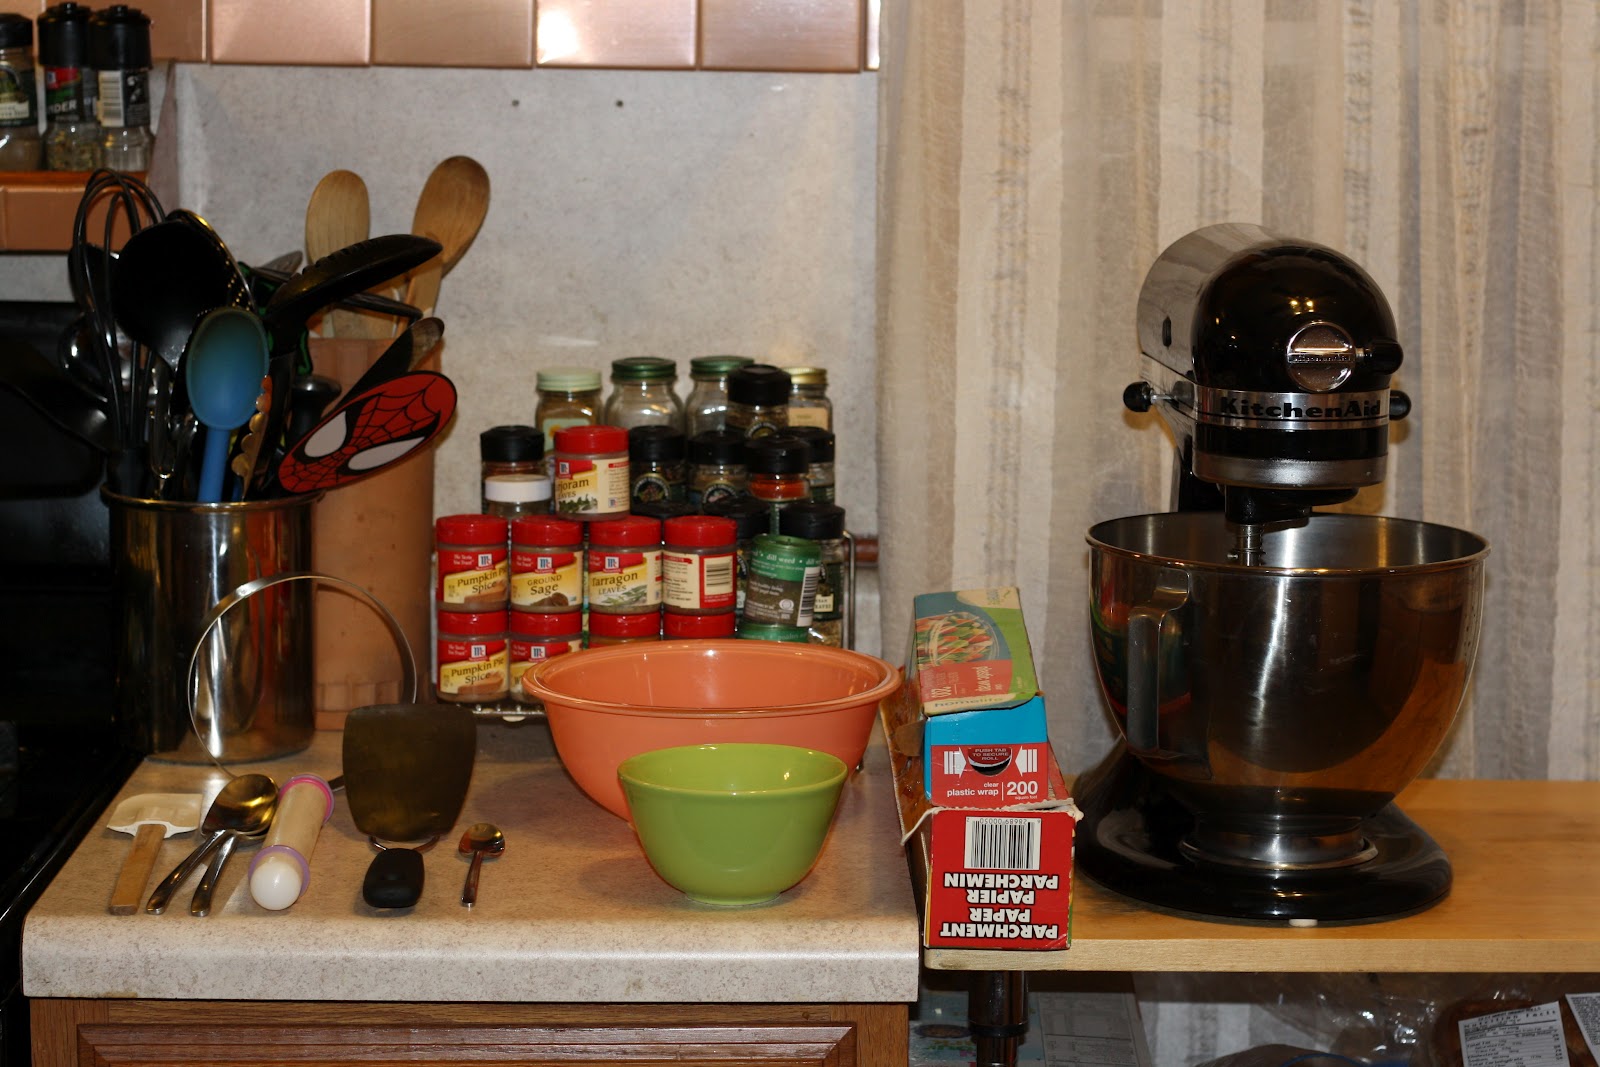 |
| © You Want Me to Cook? Chocolate Roll-Out Cookies - equipment |
Small
Bowl
(2)
Spoons – mixing
Stand
Mixer
Plastic
Scraper
Large
Bowl
Plastic
Wrap
Parchment
Paper
Rolling
Pin
4-6”
Round Cookie Cutters
Flexible
Spatula
Cooling
Racks
Equipment
Notes:
Stand
Mixer – Wilton’s recipe simply states to beat the butter and
sugar with a mixer in a large bowl. I
already have a stand mixer (a good investment if you like to bake a lot), so I
went with that.
Parchment
Paper – I use Parchment Paper in a lot of places. I use it when I’m rolling out the dough to
keep it from sticking to the counter thereby keeping the mess to a minimum. I also use it to line the baking sheets,
which keeps them cleaner and allows me to move the cookies from place to place
a lot easier.
Directions:
(1) Preheat oven to 375°F and then prep the ingredients.
Ordinarily, I have you prep the ingredients first, but since it shouldn’t take too long I decided to preheat the oven before prep. Even if it is done preheating before you’re done, you’ll have a nice hot oven for consistent baking.
(2) In a
stand mixer, beat together butter and sugar with mixer until light
and fluffy.
Again, if you don’t have a stand mixer, use a large bowl and hand mixer as the recipe specifies.
(3) Add eggs and vanilla; mix well.
(4) Blend in chocolate.
(5) Combine flour and baking powder; gradually add to butter mixture,
beating until smooth.
(6) Remove from bowl and wrap the dough in plastic wrap. Cover and chill until firm, about
1 hour.
I’ve found that taking the dough out of the bowl allows the dough to chill faster and more evenly. Essentially, your fridge isn’t spending any time chilling the bowl and there aren’t any cold spots for the dough to sit on.
(7) Once thoroughly chilled, roll dough approximately 1/8 in. thick.
Use parchment paper for easy counter clean-up and easy moving from counter to baking sheet.
(8) Dip cutters in flour, cut and transfer cookies to cookie sheet.
(9) Bake 8-10 minutes.
(10) Remove to rack and cool thoroughly.
I will let my cookies cool slightly on the pan before trying to move them, especially if you’re making them large. That way they won’t crack or bend.
These
were some great tasting cookies. Although
reflecting on it, I wish they had more of a chocolate taste. The regular roll-out cookie recipe didn’t
require any chilling and I thought it would be a lot easier working with the
chilled dough.
Yeah,
not so much.
The
regular recipe was a lot easier to roll and cut because you could add flour if
needed and it was a little more pliable.
If
I were to make it again, I’d use a semi-sweet chocolate square to give it a
little more chocolate taste. Stay tuned
for both the regular roll-out cookie review and how I decorated these tasty
treats. As always… Happy Cooking!!!
No comments:
Post a Comment