Good Gravy! This class is just flying along! And not just the number of classes we’ve gone through already. The class itself seems to be over as soon as it starts.
I learned a lesson this week that
I feel like I should share with you because no matter where you take this class,
you probably won’t hear it.
If you get royal icing on any facial hair and it dries, be prepared to lose some hair.
You’re welcome. And no, I will not tell you how I found that
out… just take my word for it.
What we covered this week from
the class lesson plan, as listed on Wilton’s website, is in the
RED BOLD text.
- Basic Principles of Cake Design
- Gum Paste and Fondant 101
- Button Flower
- Pansy
- Making Royal Icing
- Making a Parchment Bag
- Flower Nail
- Rose Base, Rose Center
- Apple Blossom, Primrose
- Rosebud
- Wilton Rose
- Daffodil
- Violet
- Using the Lily Nail, Lily
- Guidelines for Flower Arrangments
- Floral Cake Design
- Making Stems
- Reverse Shell
- Basketweave
I came armed with royal icing in
every color of the rainbow. Okay, that’s
stretching the truth a little… I had pink, yellow, violet and green.
Last week we practiced making
Rose bases and this week we finished it.
While they both start the same, this is quite different from the Ribbon
Rose we learned in Basic Cake Decorating – Lesson #4. That’s
probably a good thing since my buttercream ribbon roses didn’t look too hot.
The Rose starts with a base that is closed. Then three layers of leaves are added in steps. It differs from the Ribbon rose in that each
layer is comprised of smaller leaves, not a single layer. Here is my best one from the night:
 |
| © You Want
Me to Cook? Finished Rose Does this flower kick butt? Why yes it does! No, no... no applause is necessary. |
We then moved on to Daffodils. Using the same technique as the Primrose, you create individual petals by starting at the middle, piping up to a point and then back to the middle. The trumpet is a simple spiral in the middle with a zigzag line over the top.
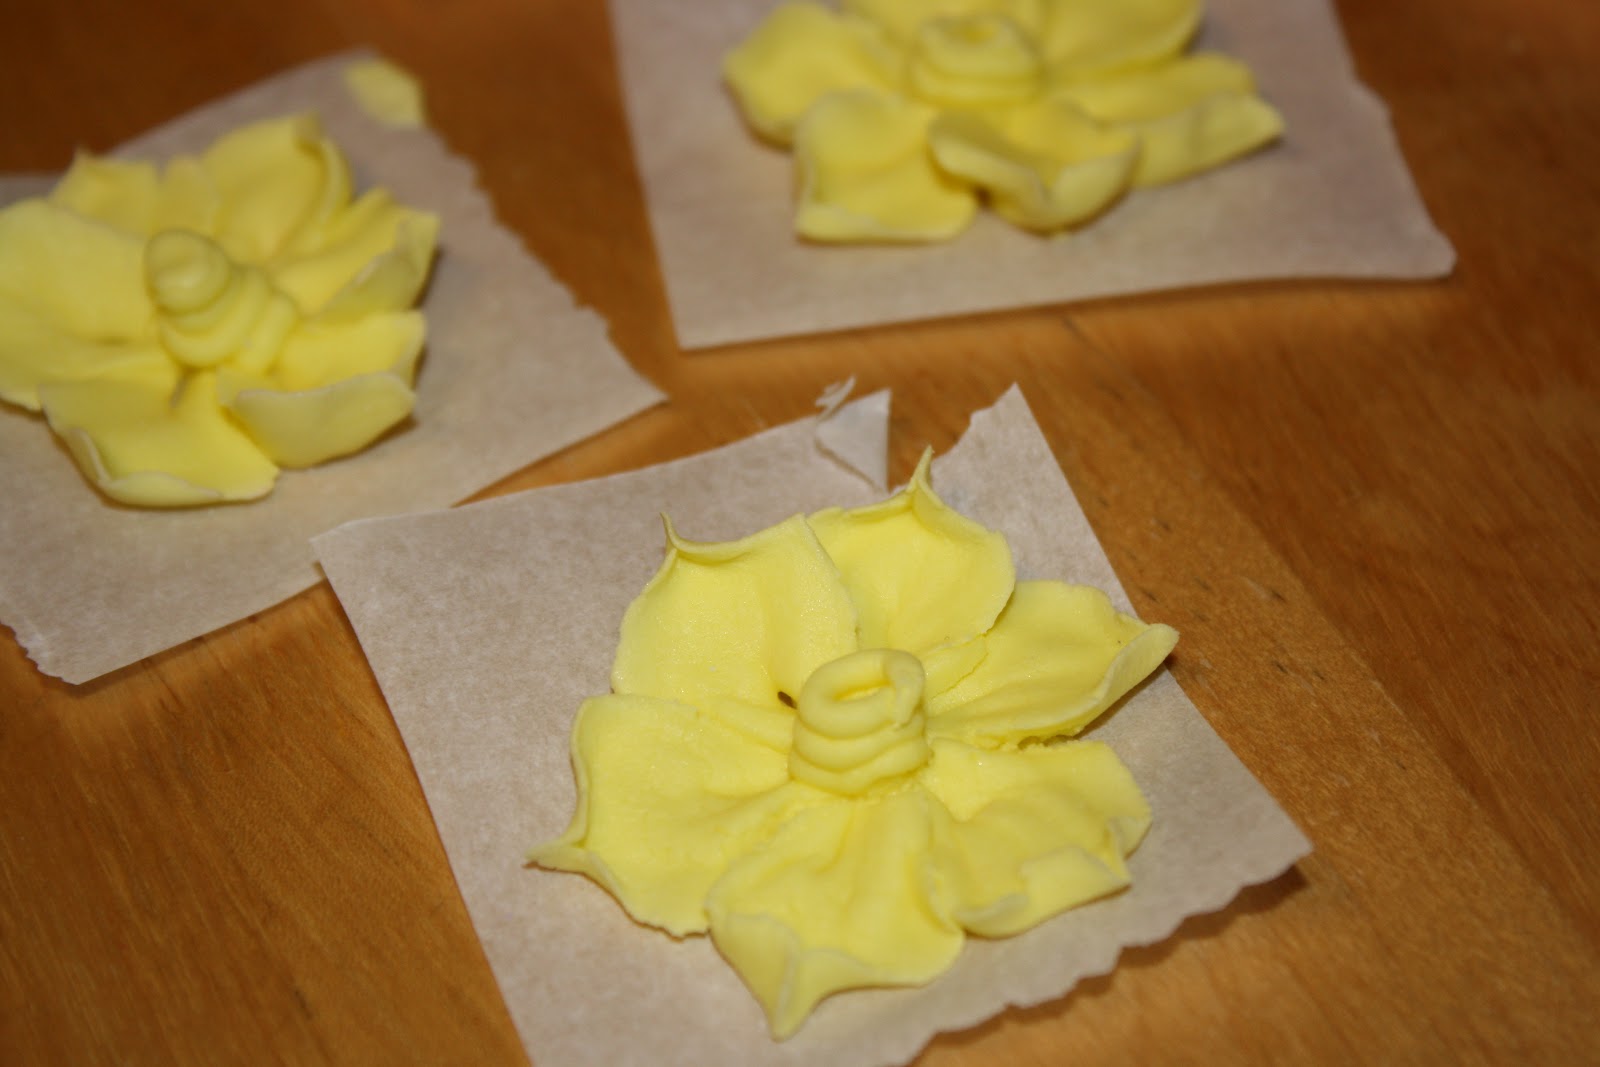 |
| © You Want
Me to Cook? Daffodil |
You’ll notice that I don’t have
the zigzag down pat yet. My icing was a
little too runny and I scraped it off because it looked like the trumpet was
melting.
Next was the Violet which is one of my favorite flowers. I can’t keep them alive, but my grandmother
used to have tons of them and I remember staring at them in their terrarium for hours.
 This flower is incredibly tiny –
about half the size of the other flowers.
I included a picture from Wilton’s website of the violet on its
template. The template is about the size
of a half-dollar and most flowers stretch out to the outside border. Overall, it’s about the size of a dime.
This flower is incredibly tiny –
about half the size of the other flowers.
I included a picture from Wilton’s website of the violet on its
template. The template is about the size
of a half-dollar and most flowers stretch out to the outside border. Overall, it’s about the size of a dime. |
| © You Want
Me to Cook? Violet |
We finished the class with the Lily. This
flower isn’t piped by template. It is
actually piped into a mold called a lily nail.
You create each petal starting from the base of the mold and pulling it
out to the edge of the mold. You pipe a
center and then blur the lines to make it look like it is part of each
individual petal. Finally, you drop in
some pre-made stamens supplied by Wilton.
 |
| © You Want
Me to Cook? Lily |
I wasn’t impressed with my lily
at all. In fact, I think it kind of
sucks. I think I need to let the icing
fan out more instead of pulling straight up.
I guess that’s what practice is
for.
Next week is our final class and
our final project. Part of it will be
the Basketweave technique using buttercream.
*sigh… I really like working with
royal icing and I can’t make a good batch of buttercream icing to save my life.
I have to figure out my design
and make a bunch of flowers since they have to dry. Wish me luck getting them to the class still
in one piece.
Until then… happy baking!
No comments:
Post a Comment