Of course, I’ve gained a couple of pounds (and so has the husband) already, so the prospect of baking more cakes kind of scares me.
However, we did have homework that had to be completed. I had to:
- Bake a cake & 6 cupcakes
- Make 2 batches of frosting – one medium consistency and one thin consistency
- Make/Purchase a cake filling
For the cake and cupcakes, I made a Lemon Layer Cake which included a Lemon Curd. I documented that process here if you're interested in my tasty cake. The icing was a Wilton Buttercream recipe. Here's the recipe to make a STIFF consistency frosting.
Ingredients:
 |
| © You Want Me to Cook? Wilton Buttercream Frosting - equipment & ingredients |
1 cup Solid White Vegetable Shortening
1 teaspoon Wilton Vanilla Flavor
7-8 teaspoons Milk or Water
1 pound Pure Cane Confectioners’ Sugar
1 tablespoon Wilton Meringue Powder
Wilton Vanilla Flavor - Wilton’s Vanilla is colorless so it won’t change the color of your icing.
Milk or Water - I used whipping cream to give my frosting an even creamier and fattening taste
Wilton Meringue Powder - Wilton’s Meringue Powder is made of eggs. You can omit this if you have food allergies to consider.
Equipment:
Stand Mixer
Plastic Spatula Scraper
Directions:
(1) Cream shortening, flavoring and water.
(2) Add dry ingredients and mix on medium speed until all ingredients have been thoroughly mixed together.
Enhancements:
 |
| © You Want Me to Cook? Wilton Buttercream Frosting - medium consistency |
To make a medium consistency frosting, add an additional 2-1/2 teaspoons of milk/water/whipping cream to the frosting. To test, stick a spatula upright into the frosting and jiggle the container. If it is medium consistency, the spatula will fall slightly to the side but still meet some resistance.
 |
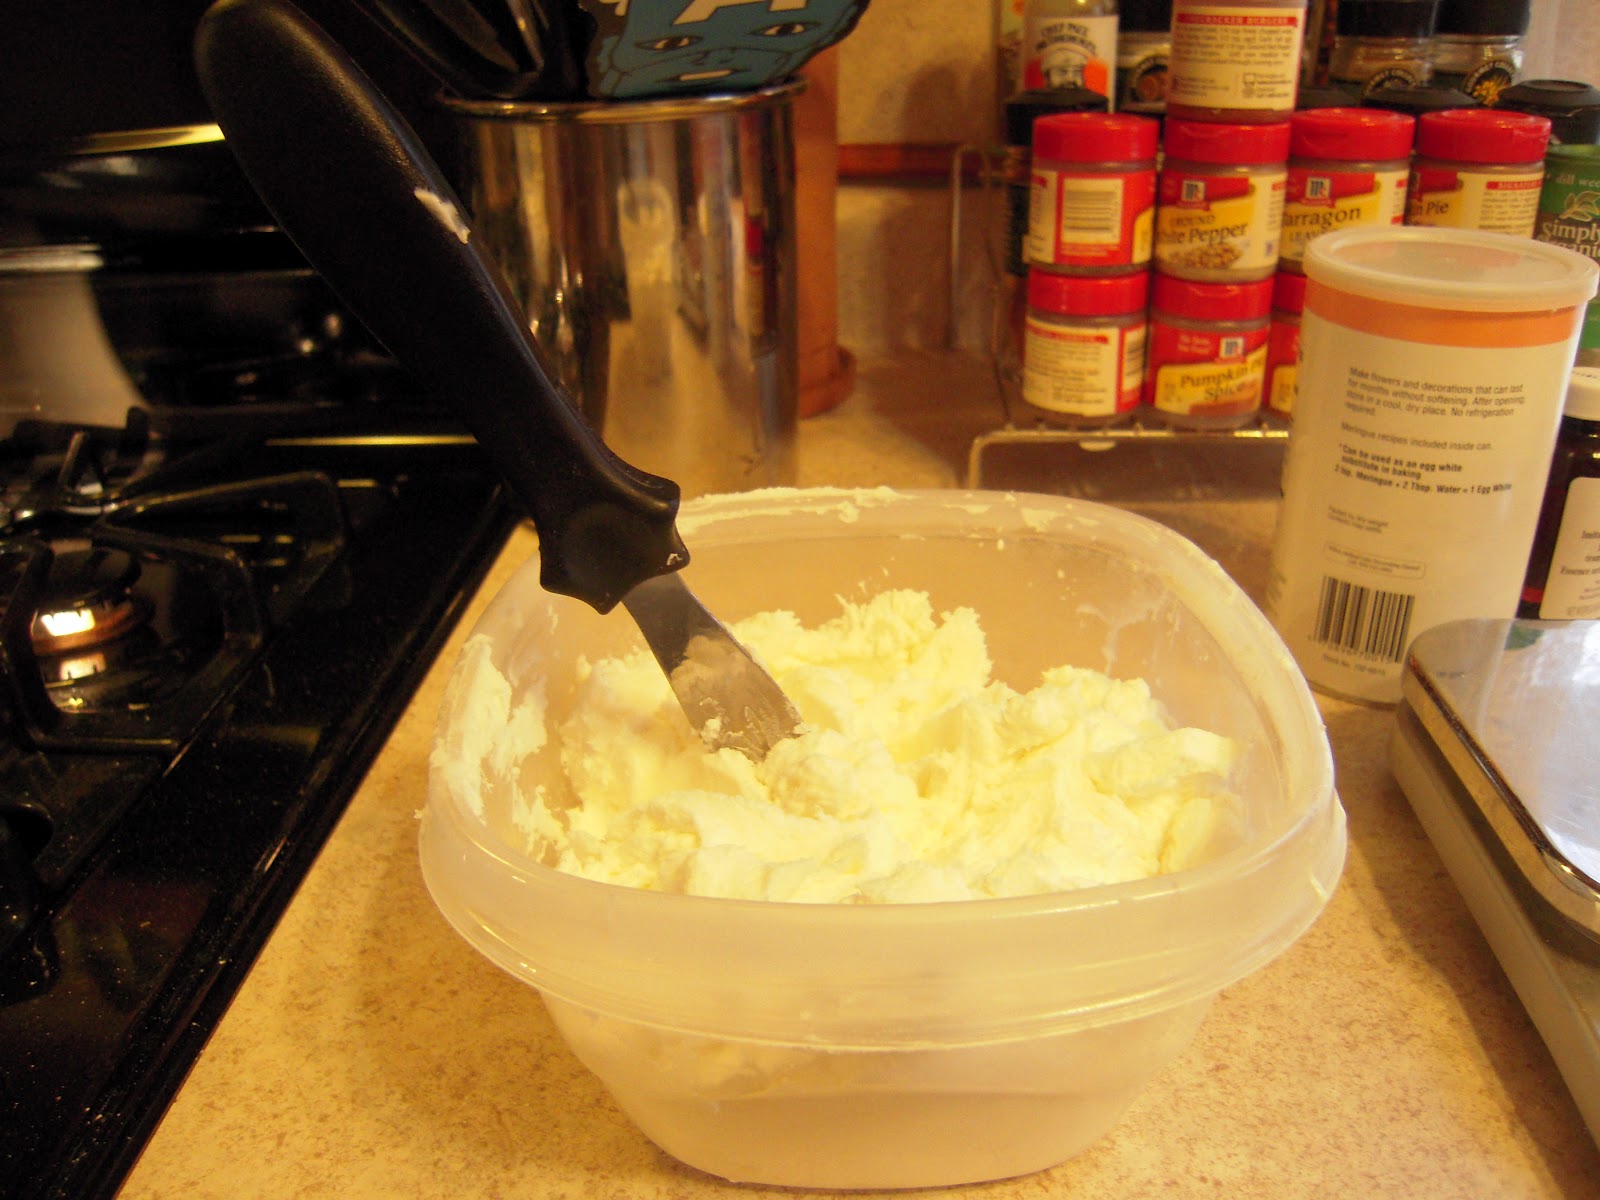
| © You Want Me to Cook? Wilton Buttercream Frosting - thin consistency |
To make a thin consistency frosting, add an additional 5 teaspoons of milk/water/whipping cream to the frosting. To test, stick a spatula upright into the frosting and jiggle the container. If the consistency is thin, the spatula won’t meet much resistance and fall to the side of the bowl very easily.
Once all of the baking and frosting was done, it was time for class. We covered several topics:
- How to torte and fill a cake
- How to frost a cake
- How to create curving lines, zigzags, dots and enlongated shapes
- How to tint icing
- How to transfer a pattern to the cake
- Our first attempt at decorating
We torted the cake first so that the frosting could “crust” over giving us a firm setting on which to decorate. I didn’t purchase a cake leveler (I plan to buy Wilton’s, but I was running slightly low on cash) so I had to measure all the way around the cake, marking with toothpicks to give myself a guide to cut it evenly.
 |
| © You Want Me to Cook? Yeah, I made this happen & didn't cut myself either! |
One problem I’ve always had when trying to make a multiple layer cake is my filling oozing out. That’s because I didn’t put a border of icing to act as a dam for the filling. So simple, yet I didn’t even think to do it.
 |
| © You Want Me to Cook? I'll be honest, I giggle every time I say "curd". What can I say? I've got the humor of a 12-year-old boy. |
Notice the filling border is not lined up with the edge. This allows the icing a little room to spread out when the cake layer is placed on top. And speaking of replacing the top, you want to place it down first the farthest away from you (Loretta explained it as 12:00) and line it up as you drop it towards you. Again, it makes so much sense, yet I’ve never done it.
 |
| © You Want Me to Cook? Success and without curd ooze. *giggle *snort *giggle |
Then it was time to frost. My frosting was a little thick, so I watered it down slightly with a filtered water I had brought with me. The top was the easiest part… it was when I got to the sides I struggled a little. The key is to not touch the cake with the spatula. You place a “blob” of icing down and then smooth more on top to cover the cake. Once the cake is covered, you can even out the sides first and then the top.
 |
| © You Want Me to Cook? Just pretend like you can't see crumbs in my frosting. |
For my first attempt, I was kind of proud. Of course, it doesn’t look perfect or have perfect edges like some of the professional decorators have, but Loretta promised me with practice, I’d get better. We let the cake set to allow the frosting to harden or “crust”. That’s an important step… you can’t decorate on soft icing.
We then learned some new decorating techniques. I forgot to take a picture of the curved and zigzag patterns, but they weren’t nearly as amusing as my dots and elongated shapes.
 |
| © You Want Me to Cook? It looks I'm collecting nipples and specimens. |
See what I mean? The dots looked okay, but the elongated shapes reminded me of dried poop that has been bleached by the sun.
And what the hell happened here?
 |
| © You Want Me to Cook? |
I have no idea. It looks like I may have sneezed mid-bag squeeze.
I finally got to bust open my coloring paste and we learned how to color our frosting. The nice thing about the Wilton Icing Color is you need to use VERY LITTLE color to get a tint – just a tip of a toothpick. However, don’t reuse toothpicks. You can contaminate the color with frosting that could ruin the color and taste. I made brown, pink and red frosting for my cupcake design.
P.S. If you can make your frosting a day ahead, the colors will intensify. Also, keep the frosting covered well and away from fluorescent light since it can alter the color.
On to transferring a pattern on to our cake… Take the picture you want to copy and place it under a piece of parchment paper. Using Wilton piping gel, trace the picture on to the paper. Then you place it, piping side down, on to the cake and using a brush (or your finger VERY LIGHTLY) transfer the pattern.
How you remove the paper is very important because you don’t want to smear the piping gel transfer. Get the paper tight in your hands and lift it STRAIGHT UP. Whatever you do, don’t drag it across the cake.
 |
| © You Want Me to Cook? I could have almost left this... no, I couldn't. |
Then we were turned loose on our cake to decorate. My cute little cupcake started to take shape with the pink frosting and the cherry on top. Unfortunately, I didn’t have much luck with the cupcake bottom. Didn’t I tell you my elongated shapes looked like poop? Now with the brown tint, you can visualize it.
 |
| © You Want Me to Cook? My cupcake - pink fluffy frosting with a poop flavored liner. |
Yet, Loretta was very encouraging and told me it was a fantastic first decorating. That made me feel good even though I know she was probably laughing silently to herself. I chose to just accept that it looked great.
I need constant positive reinforcement.
Yes, I’m very sad.
I then added the dot border and some embellishments on the side.
 |
| © You Want Me to Cook? |
Ooh la la… tres chic. Don’t I look happy in my kitchen after the class?
 | |
| © You Want Me to Cook? I don't know what I'm looking at. I'm probably looking out for a certain pug so THIS doesn't happen again. |
Of course, a pretty cake doesn’t mean anything if it doesn’t taste good. After the pictures were taken, it was time to cut the cake.
 |
| © You Want Me to Cook? This really hurt me. I got over it quickly though because I knew I was going to eat it. |
I didn’t want to do this. Not at all. My husband, on the other hand, couldn’t wait until the cake was cut. And he was inviting people over for taste testing. Whoa buddy, slow down! I want to enjoy the splendor of my cupcake design.
 |
| © You Want Me to Cook? |
The cake looks pretty good and was light and fluffy.
Also the cake itself held together after the first piece was removed. I don’t think I’ve ever accomplished this when making a layer cake. If I don’t accomplish anything else in this class, I can say I finally got a layered cake to work.
 |
| © You Want Me to Cook? |
So there you have it. Next week we learn how to make flowers and I’m really excited! At least I won’t have to do anymore baking for this class since my cupcakes are ready to go.
As always, Happy Baking!
No comments:
Post a Comment