 |
| © You Want Me to Cook? |
You’re
probably thinking I abandoned my Wilton Portfolio Project with only the first chapter. Not so!
I just haven’t written about it, which is silly since this is a blog and
it depends on my actually writing stuff after I’ve made it and decorated it.
This
particular project is from the second class – Flowers and Cake Design. The medium I’m working in is Gum Paste, Fondant and Royal Icing
I
decided to start this book with some cupcakes and individual flowers to give me
a little practice. I went with Floral
Finish on page 35 of my lesson manual and the Rosebud Boutonnieres on page
39. Here’s what we applied from the
class:
- Making Gum Paste Pansies
- Making Gum Paste/Fondant Double Button Flowers
- Making and Tinting Royal Icing
- Making Royal Icing Primroses
- Piping Royal Icing Flower Stems and Leaves
- Making Royal Icing Rosebuds
All
of these flowers need to be made a minimum of 48 hours before making and
decorating the cupcakes so that they can completely dry before using them. So, a couple days prior to making the
cupcakes, I got started.
To
make things a little easier for me, I used Wilton’s Ready-To-Use Gum Paste,
Wilton’s Ready-To-Use White Rolled Fondant and
Wilton’s Rolled Fondant Neon Colors Multi-Pack. I have made my own fondant, but I wanted to
really practice my flower making skills before adding in another variable to
give me trouble.
A
couple of other ingredients that I needed for making my flowers:
- A couple tablespoons of white vegetable shortening
- Wilton’s Yellow Icing Color
- Wilton’s Pink Icing Color
- Wilton’s No-Color Red Icing Color
- Wilton’s Orange Icing Color
- Wilton’s Dark Purple Icing Color

Most
of the decorating tools came in my Ultimate Professional Cake Decorating Set
that covers classes 1, 2 and 3 or can be found in the first two kits of classes
1 and 2:
- 9” Rolling Pin with both sets of sizing rings
- Ball Tool – found in the 10-piece Fondant/Gum Paste Tool Set
- Thin Modeling Tool – found in the (10-piece Fondant/Gum Paste Tool Set
- Decorator Brush – come in a set of 3
- Thin and Thick Shaping Foam – both come in a set
- (12) Medium Flower and (6) Small Flower Forming Cups – both come in a set of 6 (3 of each)
- (2) Flower Nails
- (2) Wave Flower Formers
- (2) Primrose Template
- (18) Icing Squares – Some come in your kits or you can buy a pack of 50. However, to save some cash, you can always make your own by cutting up 1” waxed paper squares.
- Button Flower Press Set
- (6) Parchment Bags – as with the icing squares, you can either buy a pack of 100 or you can cut your own 15” triangles out of parchment paper
- (2) Disposable / Featherweight 12” Decorating Bags
- Pansy Cutter – if you don’t have a student kit, you’ll have to buy a Floral Collection Flower Making set
- (6) Couplers
- (2) Tip #1 – round decorating tip
- Tip #14 – open star decorating tip
- (5) Tip #104 – petal decorating tip
 |
| © You Want Me to Cook? Royal Icing ingredients and Tools for Primroses and Rosebuds |
You’re
only going to get (4) couplers in your student kit. You can pick up a 3-pack for a couple of
dollars. Trust me, you’re going to use
them pretty much every time you decorate a cake, cupcake or cookie, so it’s
worth the investment. If you don’t want
to buy disposable bags or more couplers, you can use a single lightweight
decorating bag and coupler for each color.
You’ll just have to wash them out and dry them between colors. That’s going to add significant time to your flower
making.
 |
| © You Want Me to Cook? Gum Paste and Tools for Button Flowers |
You’ll
also notice that I have multiple tips of the same type. That is because you need them for different
colors. Sure, you can use a single tip,
but each time you go to switch it to a different color, you’re going to have to
clean the tip. It isn’t difficult to do
(royal icing cleans much easier than the buttercream icing of Chapter #1) but
it is a royal pain in the butt. Most of
the tips are under a dollar a piece. I’d
say buy at least a couple so you don’t have so much scrubbing to do between
colors.
Some
items that you didn’t get in your kit(s), but still need are the following:
- Gum Paste Board – Your practice board you got with your class kits functions in the same manner, but I love this thing. Also, it never hurts to have a little more covered storage space for your gum paste and fondant cut-outs.
- Cutter/Knife Tool – If you’ve already bought the 10-piece Fondant/Gum Paste Tool Set you’ll have the knife tool already. The Deluxe Gum Paste Tool set has a knife tool that allows for fine cutting and trimming.
- Tapered Spatula – this tool is recommended when working with gum paste flowers. It also cleans out the decorating tips nicely.
- Roll and Cut Mat– not only does it have sizing circles and squares on it for easy measuring and cutting, it helps you keep your counter tops clean. I love mine!
- Some other tools you’ll need or find helpful:
- Glue Stick – to help stick the templates to the flower nail and the icing squares to the template
- Disposable Cups – an easy solution to coloring and storing gum paste and fondant
- Toothpicks – for adding color to the gum paste, fondant and royal icing
- Foam Block – it really helps to have something to stick the flower nails into that will hold them up. I also like using Disposable Cups for this, but the foam block is cheaper.
- Dehydrator – this is totally optional, but I picked up my dehydrator really cheap. I dehydrate the flowers overnight and they are usually ready to go the next morning. Great if you’re running short on time.
 |
| © You Want Me to Cook? Gum Paste and Tools for Pansies |
Now
that I had everything out that I needed, I made my royal icing. I kept some white and tinted some the
following colors: bright red, light orange, pink and yellow. I assembled some parchment bags with couplers
and set out all of my tips next to each color I would be using. Did the same thing with the disposable bags I
needed. Then I tinted some gum paste (bright
red, dark red, orange, purple, light purple and yellow) and made some gum paste
and fondant blends (pink, purple and yellow), covering them well so they
wouldn’t dry out before I had time to use them.
After
about 30 minutes of making frosting and tinting all the colors I needed, it was
time to get started.
Pansy
Most
of the flowers made in course two are made with royal icing. The pansy is one of the two flowers made with
gum paste or gum paste/fondant blend, although if you look up the directions
for this flower on their website, they will direct you to a royal icing
version.

According
to Wikipedia:
The Pansy flower has two top petals going over each other slightly, two side petals, connectors where the three lower petals join the center of the flower and a single bottom petal with a slight beard.
Wilton’s
version isn’t quite the same shape (for example, there are extra petals on the
top of the flower) but it gets the general idea and shape of this delicate and
colorful flower.
The
key to this flower is the ruffle of the leaves.
The gum paste is rolled thin, less than 1/16-inch thick so it is easy to
tear the edges as you thin and ruffle.
Another complication is how quickly the gum paste can dry out due to its
thickness. When you first start out, you
can blend in some fondant. It will slow
down your drying time (it needs to be completely dry in order to use it for
decoration) but it will give you a little wiggle room while working with the
edges.
 |
| © You Want Me to Cook? Bright Red - Orange Pansy |
Grade given to self: “B-”
I
managed to keep my edges intact and got a nice ruffle on several of them. However, I forgot to cup the petals of the first
couple batches I made and it seems like my base petals ended up a little flat.
And
don’t get me started on the center loop.
My fat fingers can’t roll out anything that tiny for shaping.
What would I do differently?
I’ve given this A LOT of thought since I’ll be making these
again for my portfolio. First, I want to
rework the flower a little to get it closer to the actual pansy. Let’s take a look at the pansy cutter:
 |
| © You Want Me to Cook? WILTON Pansy Cutter |
It
is like a little person with a head at the top, two arms and two legs. Instead of laying two pansy leaves on top of
the pansy flower, I will remove the “head” of one pansy cutout and fan out two
of the pansy leaves behind the full flower (minus the “head”).
Next,
I’ll work on making my stamen a little smaller and have it stand up in the
center of the flower. Finally, using
color dust and shimmer, I’m going to enhance the middle of the flower to give
it dimension.
 |
| © You Want Me to Cook? Bright Red - Dark Red Pansy |
 |
| © You Want Me to Cook? Purple - Orange Pansy |
 |
| © You Want Me to Cook? Purple - Light Purple Pansy |
 |
| © You Want Me to Cook? Purple - Yellow Pansy |
Button
Flower
 |
| © You Want Me to Cook? Pink - Purple - Yellow Button Flower |
The
other non-Royal Icing flower is the button flower. This isn’t based off of a real flower. It’s a fun flower with several different
textures and a button in the center.
This
is a relatively easy flower to make.
There is a cutter that creates all three pieces which you then
assemble. The most difficult part is
getting the pieces out of the mold.
Grade given to self: “C”
As
I look at my pictures, I first was going to give myself an A- or B+. Then I remembered a little something… I
initially had 3 flowers and broke one.
If I had been making these for someone, I’d be 1/3 flowers down, and
THAT would be unacceptable.
 |
| © You Want Me to Cook? Purple - Yellow - Pink Button Flower |
What would I do differently?
Well there’s always something you can do differently, but in
this case, I’d make more flowers than I needed.
Of course, I’ll need someplace to store extra pieces, but I’d rather
have more than I need than not enough.
The
other thing I may do is use a pin to get the pieces out of the mold. You can see the divots of where I pulled them
out of the mold. Also, I’d make sure the
edges aren’t as frayed by using my knife tool.
Now
we start with the royal icing flowers in this project.
Primrose

The
primrose is known for its heart shaped leaves with a colorful star center. To create these flowers, you pipe each
individual petal onto a wax square, overlapping slightly and connecting in the
center. The center is then added by
using a star tip.
Grade given to self: “B”
I
formed the leaves well, although my frosting seems to have cracked. That could be for two reasons: (1) because my
frosting was not the best consistency, (2) I didn’t keep consistent pressure as
I was creating each petal or (3) both of the above.
I
still need to work on my centers. I
always have issues getting the frosting the right consistency for the smaller
tips.
 |
| © You Want Me to Cook? Pink Primrose |
What would I do differently?
I wouldn’t put them on the wave flower former. Instead I’d put them in the round flower
former to curve them towards the center.
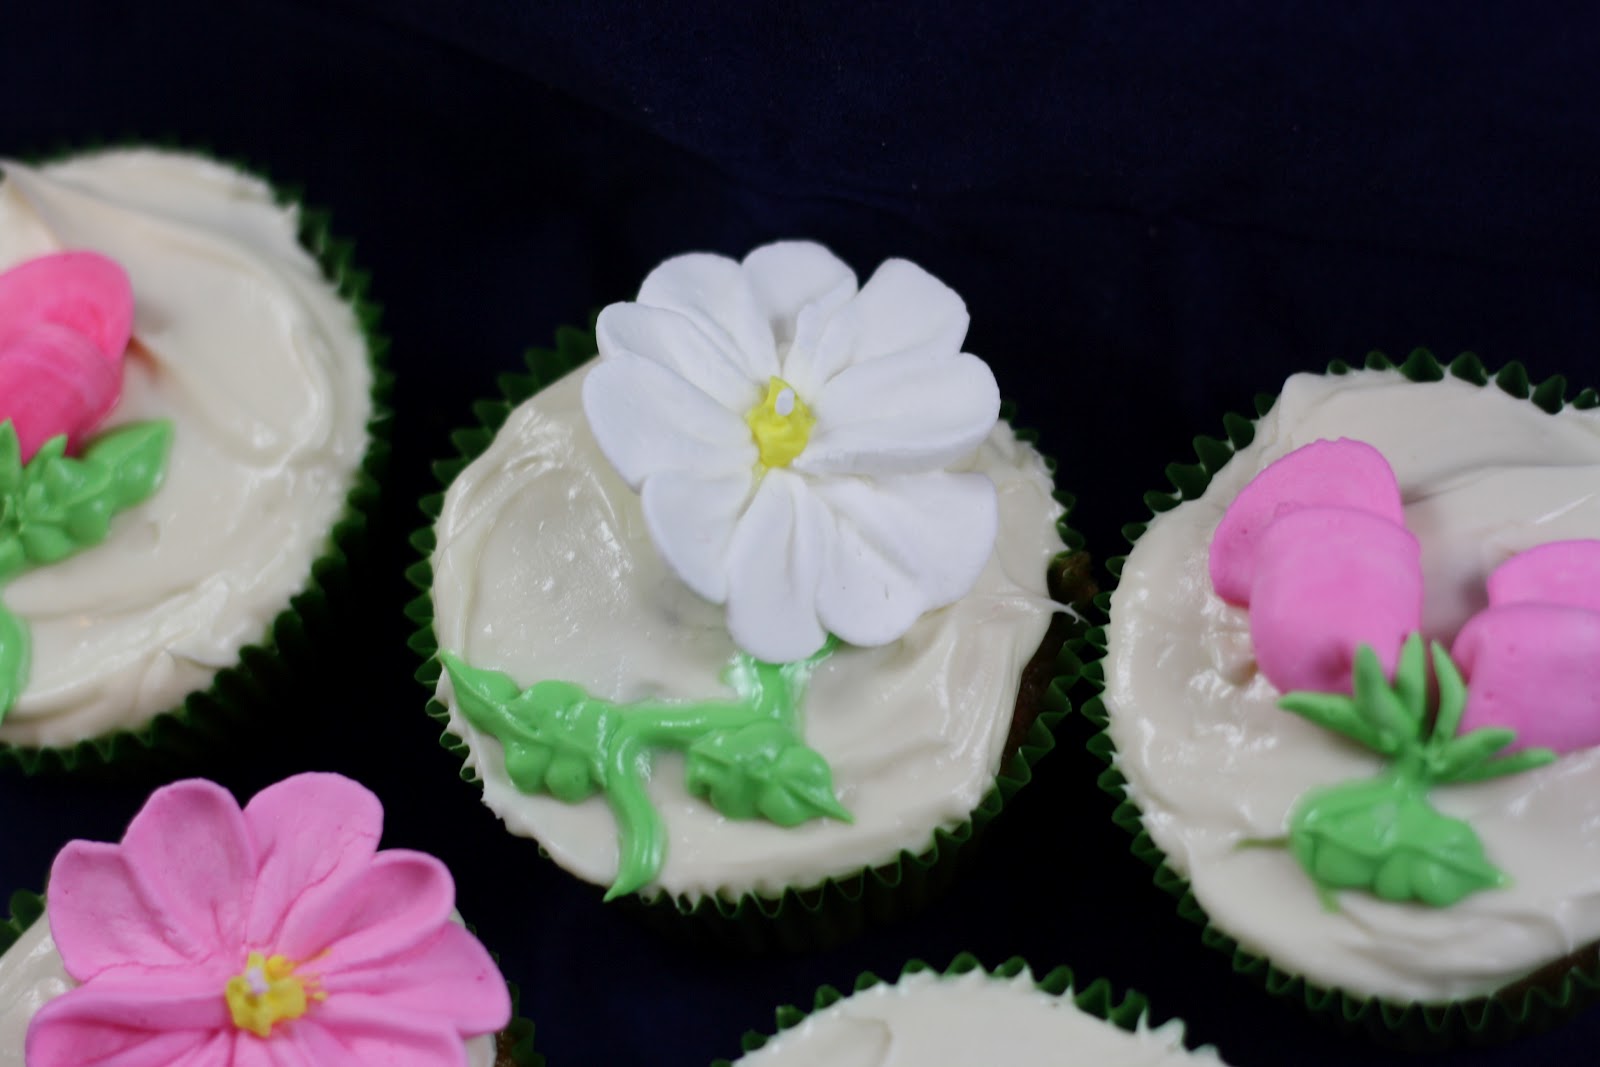 |
| © You Want Me to Cook? White Primrose |
Rosebud

The
rosebud is a rose in its first stage of opening to a full bloom. This flower is probably one of the most
difficult flowers to form. You have to
have the tip at the perfect angle and use a very precise amount of pressure.
I
think for every usable flower I made, I probably made five bad ones.
It
was quite frustrating.
Grade given to self: “C”
While
I impressed myself with the calyx, the buds themselves don’t look all that
great. The bottom petal formed nicely,
but I didn’t get the different levels for the top petal. They ended up looking like loops.
And
I’ll admit I gave up after making dozens of them. I just went with the ones that looked the
best.
 |
| © You Want Me to Cook? Bright Red Rosebud |
 |
| © You Want Me to Cook? Light Orange Rosebud |
What would I do differently?
I think I would do one color a day and only work for 30
minutes at a time. By the time I got
some flowers I wanted with the first color, I was exhausted. And I still had several other colors to go! I would also practice different ways to hold
the tip to get the precise petal shape for the top of the bud.
 |
| © You Want Me to Cook? Pink Rosebud |
 |
| © You Want Me to Cook? White Rosebud |
 |
| © You Want Me to Cook? Yellow Rosebud |
Once
I finished my flowers, I blasted them in the dehydrator for several hours and
left them to dry.
Finishing
the Cupcakes
 |
| © You Want Me to Cook? |
The
great thing about using premade flowers is that the hard part is done and over
with when it comes time to place the final decorations on the
cupcakes/cake/cookies. The most
difficult part is handling the fragile flowers to place them without breaking
or dropping them.
I
had to make some cupcakes to decorate and decided to go with one of my
husband’s favorites – carrot cake. This
recipe had a little twist with the inclusion of maple. The recipe for Maple Carrot Cupcakes and
Maple-Cream Cheese Frosting came from a Taste of Home cookbook, Cupcake, Muffins and More. For more detail about these fantastic
cupcakes, check out my post on them here.
Also,
our flowers need some finishing touches with leaves and sparkles. Therefore, you’re going to need the following
ingredients and equipment:
- Wilton’s Green Icing Color
- Wilton’s White Cake Sparkles
- (3) Parchment Bags
- Tip #3 - small-medium round tip
- Tip #349 - leaf tip
- Tip #352 - leaf tip
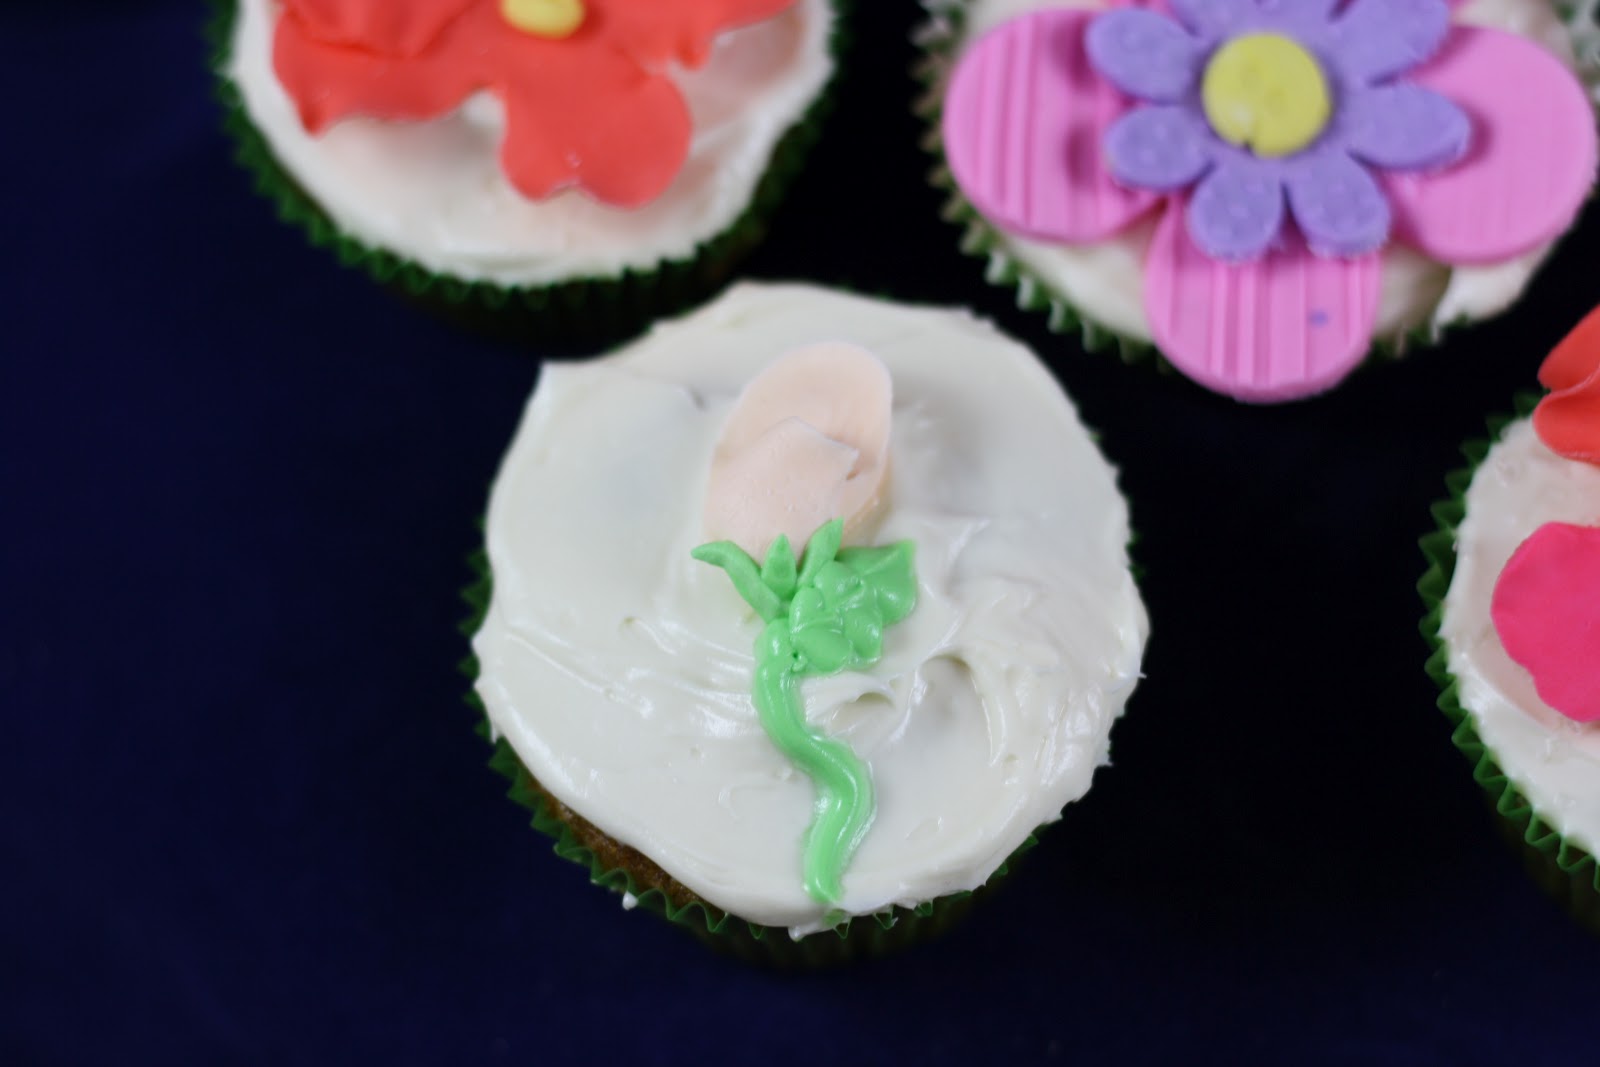
I
frosted the cupcakes and placed the flowers on each. Then I piped some leaves or dropped some
sprinkles to finish them off.
 |
| © You Want Me to Cook? |
 |
| © You Want Me to Cook? |
I
learned something new after this project was complete. The cupcakes had cream cheese frosting, so
they needed to be refrigerated. The next
day, when I went to grab a cupcake, the flowers had literally melted onto the
frosting.
I
was dumbfounded.
Then
I gave it some thought. The frosting was
a “wet” frosting, meaning it never crusts over.
The flowers come from a wet medium and then dry out. Essentially, I reintroduced moisture back
into my delicately made flowers. The
interesting part of it is the flowers melted into the frosting in a perfect
shape. It didn’t taste all that great
though.
I’ve
finished several more chapters to this project and I hope to get them up
soon! Trust me, it does get better!
 |
| © You Want Me to Cook? |
Until
then… happy baking and decorating!
No comments:
Post a Comment